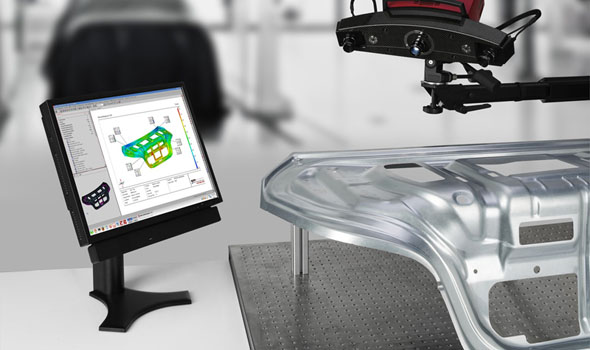
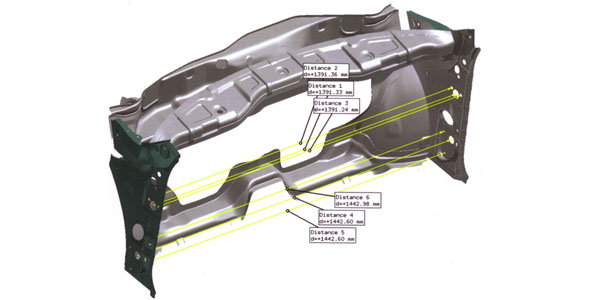
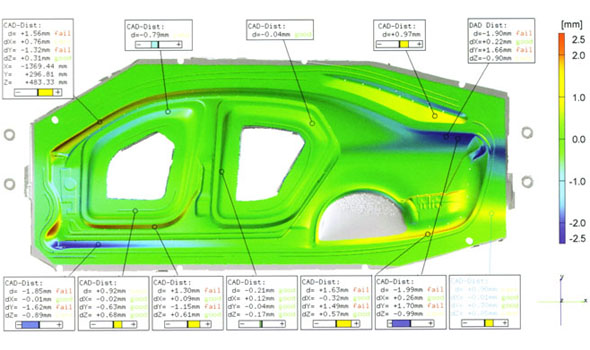
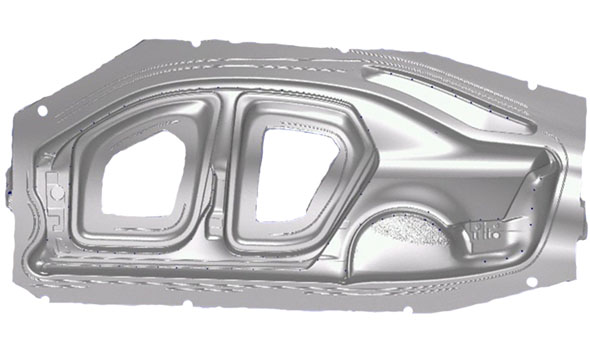
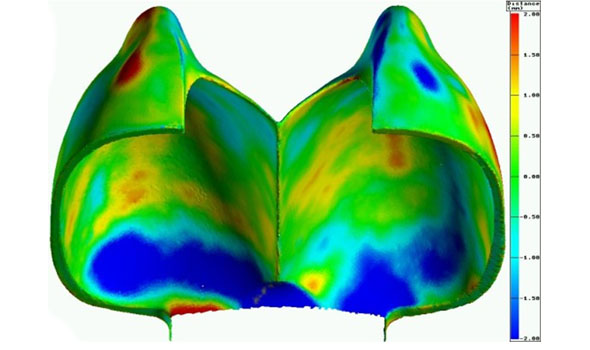
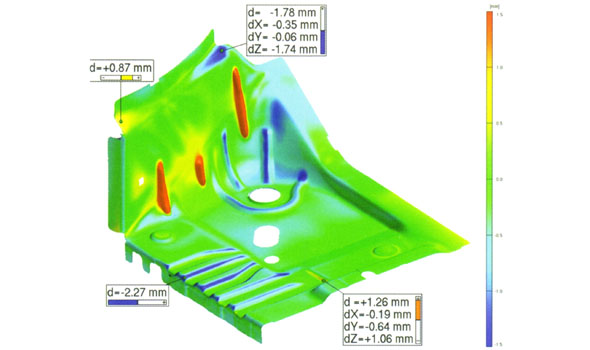
We use optical measuring systems developed by GOM to control forms and dimensions of complete objects or their individual parts. The measured volume can be adjusted raging from millimetres to metres. The accuracy of measurements can reach up to 0.005 mm (5µm), depending on the object being observed.
The system enables:
- Control over dimensions and forms;
- Comparison of products with CAD models;
- Analysis of deviations between two objects (e.g. copy and original);
- Optimisation with the form analysis process and the implementation of necessary corrections
